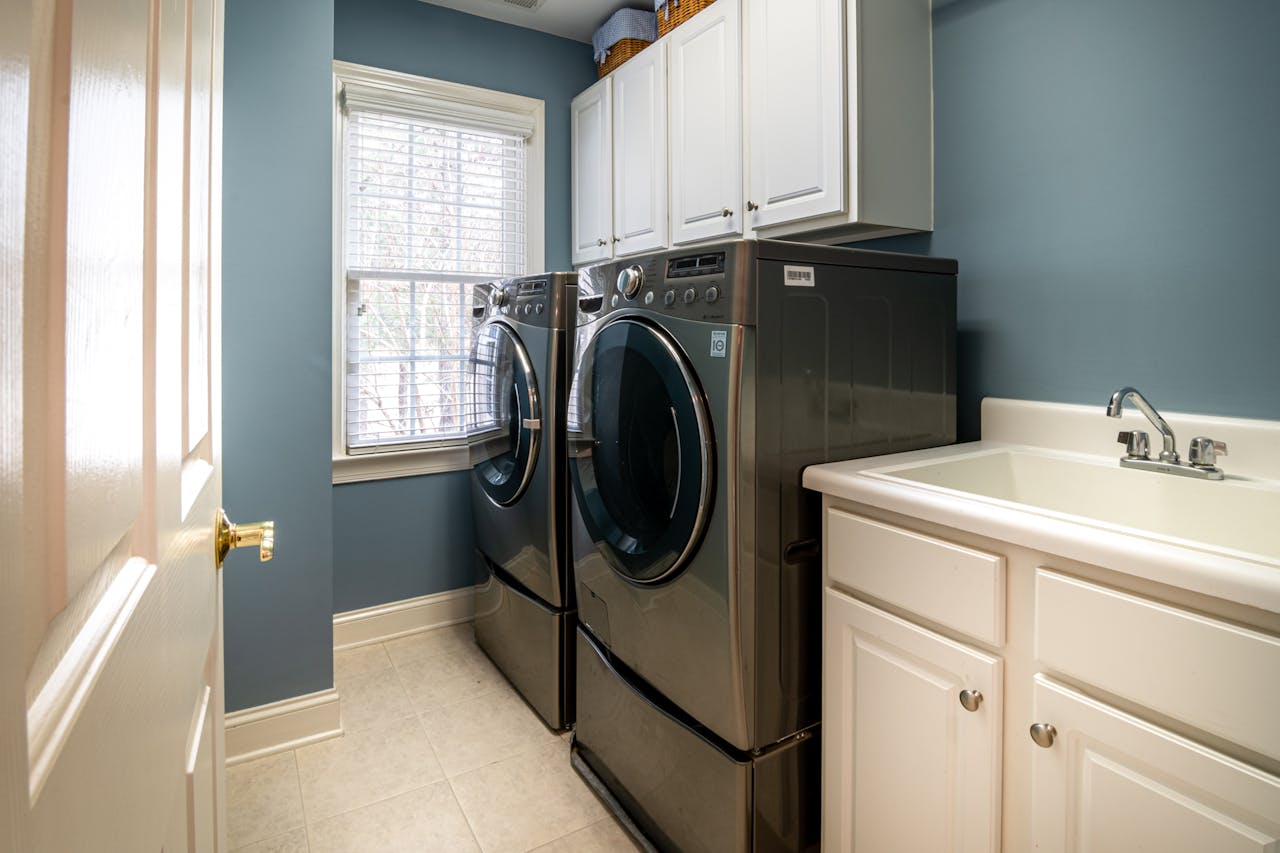
Most of us remember to clean the lint trap. We pull out that fuzzy gray sheet after every load, feel vaguely virtuous about it, and call it a day. But if that’s the extent of your dryer maintenance, there’s a good chance your machine is running less efficiently than it should — and possibly posing a fire hazard you don’t know about.
A thorough deep clean of your dryer isn’t just about performance. The U.S. Fire Administration estimates that clothes dryers cause thousands of residential fires every year, with failure to clean them being the leading contributing factor. The good news: a deep clean is a straightforward DIY project that takes a couple of hours and requires almost no special tools.
Here’s exactly how to do it.
Meet the Expert
- Dan DiClerico, Home Improvement and Outdoor Director, Good Housekeeping
- Scott Jay, HVAC expert in Southwest Missouri, Hello Nation Springfield
How to Deep Clean Your Dryer
Before you begin, consult your owner’s manual — cleaning procedures and accessible components vary by model, and it’s worth knowing what your machine’s manufacturer recommends. Throughout this process, keep the dryer switched off and unplugged at all times; gas dryer owners should also shut off the supply valve. Avoid spraying water or cleaning products directly onto internal components, and always allow any washed parts to dry fully before putting them back.
What You’ll Need
Before you start, gather your supplies:
- A vacuum cleaner with a hose and narrow nozzle attachment
- A dryer vent cleaning brush kit (available at most hardware stores)
- Microfiber cloths
- Mild dish soap or an all-purpose cleaner
- A screwdriver (usually Phillips head)
- A can of compressed air (optional but useful)
- A flashlight
Unplug the Dryer and Pull It Away from the Wall
Unplug the dryer from the wall outlet before touching anything — and if yours runs on gas, turn off the supply valve now. Then carefully slide the machine away from the wall to expose the back panel and exhaust duct. A helper makes this easier; dryers are heavy, and the vent hose can be easily kinked or damaged if the machine is moved carelessly.
Deep Clean the Lint Trap and Its Housing
You clean the lint screen regularly, but when was the last time you cleaned the slot it lives in?
Remove and inspect the lint screen. Pull it straight out and hold it up to a light source. This is your first real diagnostic moment. If light passes through the mesh easily and evenly, the screen itself is in decent shape. If large patches are opaque or the whole thing looks gray and filmy, you’ve got significant buildup — probably a combination of lint and waxy residue from dryer sheets or liquid fabric softener.
Wash the lint screen properly. Don’t just rinse it under the tap. Fill your sink with warm water, add a few drops of dish soap, and use a soft-bristled brush — an old toothbrush works perfectly — to gently scrub both sides of the mesh. Work in small circular motions and pay attention to the frame edges where lint tends to pack in tightly. Rinse thoroughly under running water until no suds remain, then shake off the excess water and set it flat to air dry completely. Reinserting a damp lint screen can cause lint to clump and stick, making future cleaning harder.
Vacuum the lint trap housing. With the screen out, you now have access to the channel it sits in — and this is where a lot of people stop short. “Skipping this upkeep is by far the biggest mistake homeowners make when it comes to dryer maintenance. That’s because a blocked vent can lead to the buildup of highly flammable lint.” states Dan DiClerico. Switch your vacuum to its narrowest nozzle attachment and insert it as far down into the housing as it will reach, moving it slowly from side to side. You may be surprised by how much comes out. Lint packs itself into the lower portions of this channel and can dramatically restrict the airflow your dryer depends on to function efficiently.
Go deeper with a brush. A vacuum nozzle can only reach so far. For the lower portion of the lint trap housing — particularly in top-load style lint trap slots that run deeper into the machine — use a long, flexible dryer vent brush or a purpose-made lint trap cleaning brush (these are inexpensive and widely available online). Insert the brush and rotate it gently while pulling upward. You may need to do this several times, vacuuming between passes, until nothing more comes out.
Check for damage while you’re at it. Before reinserting the clean, dry screen, look it over carefully. Small tears or holes in the mesh mean lint is bypassing the screen entirely and traveling directly into your ductwork. A damaged lint screen should be replaced — they’re inexpensive and universally available by dryer model. Running a dryer with a torn screen accelerates lint buildup in the duct and significantly increases fire risk.

Clean the Drum
Open the dryer door and wipe down the inside of the drum with a damp microfiber cloth and a small amount of mild dish soap. Pay attention to any stains, residue from melted crayons, lip balm, or other rogue items that survived the wash cycle. “While you’re at it, check the drum for sharp edges that could snag clothes.” says Dan DiClerico.
For stubborn stains, a little rubbing alcohol on a cloth can work well without damaging the drum surface. Once you’ve scrubbed it clean, wipe the drum down again with a clean damp cloth to remove any soap residue, then dry it thoroughly.
Don’t forget the door seal. The rubber gasket around the dryer door collects lint and debris in its folds. Run a damp cloth around the entire seal, pressing into the creases to clean it out.
Tackle the Exhaust Vent and Ductwork
This is the most important step — and the most commonly skipped.
Your dryer exhausts hot, moist air through a duct that runs from the back of the machine to an exterior vent on your house. Lint accumulates inside this duct over time, and a heavily clogged duct is a serious fire risk and a major cause of inefficiency (your dryer taking two or three cycles to dry a single load is often a symptom of this). “Clogged vents [can] also lead to moisture problems…when warm, humid air becomes trapped inside ducts, condensation can form and encourage mold or mildew growth.” remarks Scott Jay, “this moisture can spread through walls and ceilings, creating both structural damage and poor indoor air quality.” Noting that regular vent cleaning also eliminates lint and trapped humidity, keeping airflow clear and preventing these secondary issues.
Start at the back of the dryer. Disconnect the flexible exhaust hose from the dryer’s exhaust port by loosening the clamp with a screwdriver. Peer inside with your flashlight — if you see significant lint buildup, you’ll understand why this step matters.
Feed your dryer vent cleaning brush into the duct from the dryer end, rotating it as you push it through to loosen lint. Then go outside and locate your exterior vent cover (it’s usually on an exterior wall, low to the ground or near the roof depending on your layout). Remove the vent cover if possible and use the brush from the outside end as well, working toward the middle of the duct.
Vacuum up all the loosened lint from both ends. If your ductwork is particularly long or has multiple bends, consider hiring a professional dryer vent cleaning service once a year — specialized equipment makes a real difference in complex setups.
Reattach the vent hose securely when done. Make sure there are no kinks in the hose, as these restrict airflow just as much as lint buildup.
Clean the Exterior
Wipe down the outside of the dryer with a damp cloth, paying attention to the top, sides, and control panel. Dust and lint settle on every surface. A can of compressed air is useful for blasting debris out of control panel crevices and any vented panels on the back or sides of the machine.
If your dryer has any removable panels that expose internal components — some models allow access to the blower or heating element housing — consult your owner’s manual and carefully vacuum those areas too. Lint inside the dryer cabinet itself is another fire risk that most people never think to address.
Reconnect and Test
Slide the dryer back into position, reconnect the vent hose, plug the machine back in (and restore the gas supply if applicable), and run a short test cycle — empty — to make sure everything is functioning correctly and there are no unusual smells or sounds.
A freshly cleaned dryer should feel different immediately. Cycles will be shorter, clothes will come out drier, and the whole machine will run cooler.
How Often Should You Deep Clean?
For most households, a thorough deep clean once or twice a year is sufficient. The exterior vent and ductwork should be inspected at least annually. If you notice your dryer taking longer than usual to dry clothes, running unusually hot, or if you can see lint around the exterior vent cover, don’t wait — clean it sooner.
Homes with large families, pets, or high laundry volume should clean more frequently.
Common Mistakes to Avoid
Even well-intentioned cleaning efforts can go wrong. Here are the pitfalls most likely to cause problems:
Reinserting a damp lint screen. It’s easy to wash the lint screen and put it straight back without waiting for it to fully dry. Moisture causes lint to clump and adhere to the mesh far more stubbornly, making your next cleaning harder and potentially restricting airflow between cleans.
Using the wrong cleaning products. Abrasive cleaners, bleach, or solvent-based sprays can damage the drum’s finish, degrade rubber seals, and leave behind residues that transfer to your laundry. Stick to mild dish soap and water for surfaces, and rubbing alcohol only for stubborn drum stains.
Neglecting the exterior vent. Many people clean the lint trap and call it done, never touching the ductwork or the exterior vent cover. This is where the real danger lies. A clogged exterior vent can cause heat and moisture to back up into the machine — a leading cause of dryer fires and premature mechanical failure.
Using flexible plastic ducting. If your dryer is still connected with a plastic or foil accordion-style hose, replace it. These materials sag, kink, and trap lint far more readily than rigid or semi-rigid metal ducting. Many home insurance policies and fire codes now require metal ductwork for dryers — check yours.
Rushing the job. Skipping steps to save time — not vacuuming the lint trap housing, not cleaning from both ends of the duct, not checking the exterior vent cover — leaves the job half done. A partial clean can give a false sense of security while leaving the most significant hazards in place.
Forgetting to check the vent cover outside. The exterior vent flap can become clogged with lint, bent shut, or even blocked by a bird’s nest. If the flap doesn’t open freely when the dryer is running, exhaust air has nowhere to go — which causes overheating and accelerates lint buildup throughout the entire duct system.


