Recently I did my frugal haul of produce from the International market. It’s such a great frugal hack when you need produce at great prices. Anyway, after a few days I realized I need to give attention to the green beans before they went lifeless on me. Blanching and freezing green beans is a fantastic way to preserve their freshness and enjoy them year-round.
Here’s the steps I took to be able to use them later in my meals.
The tools I used for this job:
- All Purpose Kitchen Scissors (they are so handy)
- Stainless Steel Spider Strainer Basket
- Commercial baking tray
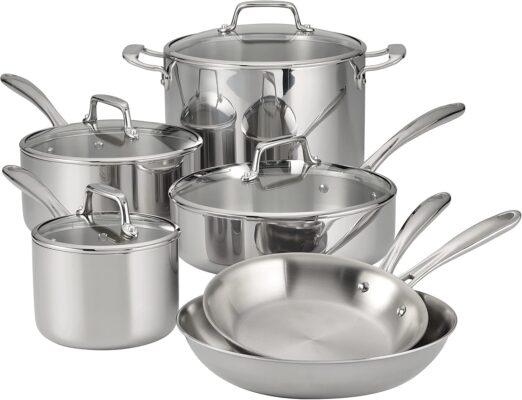
- Rachel Ray Pot (this set has been so good to me)
- Amazon Basics Electric Kettle
The Steps:
1. Boil the Water
Start by bringing a large pot of water to a rolling boil. This step is crucial for blanching the green beans, which helps maintain their color, texture, and flavor.
2. Review and Prepare the Green Beans
While the water is coming to a boil, take a look at your green beans. Discard any that are blemished, slimy, or discolored. Only the freshest beans will ensure the best quality when frozen.
3. Trim the Ends
Once you’ve sorted out the bad beans, trim the ends of each green bean with the all purpose kitchen scissors, a knife or snap them by hand.


4. Rinse
Rinse the green beans under cold water to remove any dirt or debris. This step ensures that your beans are clean before they are blanched.
5. Get an Ice Bath Ready
While the pot is rising to a boil, prepare an ice bath by filling a large bowl with ice and cold water. This bath will be used to cool the beans rapidly after they’ve been blanched, stopping the cooking process and preserving their crisp texture.
6. Blanch the Beans
With the water at a rolling boil, carefully plop the green beans into the pot. Allow them to blanch for about 1-2 minutes. This short cooking time will help to preserve their vibrant color and fresh flavor.


7. Transfer to Ice Bath
Using a spider strainer, transfer the green beans from the boiling water to the ice bath immediately. This will cool them down quickly and stop the cooking process. Let them sit in the ice bath for a few minutes until completely cooled.

8. Pat Dry and Lay on Sheet Pan
Remove the beans from the ice bath and lay them out on on a layer of paper towels. Pat them dry to remove excess moisture. Ensuring the beans are dry helps prevent ice crystals from forming during freezing.
9. Freeze
Spread the green beans out in a single layer on a dry sheet pan. Place the sheet pan in the freezer and let the beans freeze for about 1-2 hours. This step, known as flash freezing, helps prevent the beans from sticking together.
You really don’t need a commercial size sheet pan, like the one pictured. This particular sheet pan is too big to place two on an oven rack or even set in the freezer if you have a side-by-side appliance. But just like my giant cast iron pan, once I adjusted to using it, I wouldn’t even think about using an alternative.

10. Store in Freezer Bags
Once the beans are frozen solid, transfer them to a reusable freezer bag. Squeeze out as much air as possible from the bag before sealing it tightly. Label the bag with the date so you can keep track of how long they’ve been frozen.

Freezing green beans is a simple yet effective way to ensure you always have a nutritious vegetable on hand. By following these steps, you’ll be able to enjoy the fresh taste of green beans long after their harvest season. Whether you’re adding them to soups, stews, or stir-fries, these frozen green beans will be a great addition to your pantry. Enjoy the convenience and the freshness of your home-preserved green beans!


